
This page has strategies for important monster/boss fights in Witcher 3: Wild Hunt. These tips are meant to help with Death March difficulty, although the same mechanics apply to every difficulty, with the only difference being damage and health values.
Table of Contents
General Strategy Tips
- Always have your Quen sign shield up
- Invest 3 points into the alternative version of Quen – this will allow you to heal as well as block damage, which is incredibly useful against powerful enemies, and negates the need for healing potions
- Get used to Dodging and Rolling – these are absolutely must-haves, especially on higher difficulties
- Generally speaking, dodging is superior to rolling, because you can attack much sooner; however, rolling may be better against some large enemies, like the cockatrice
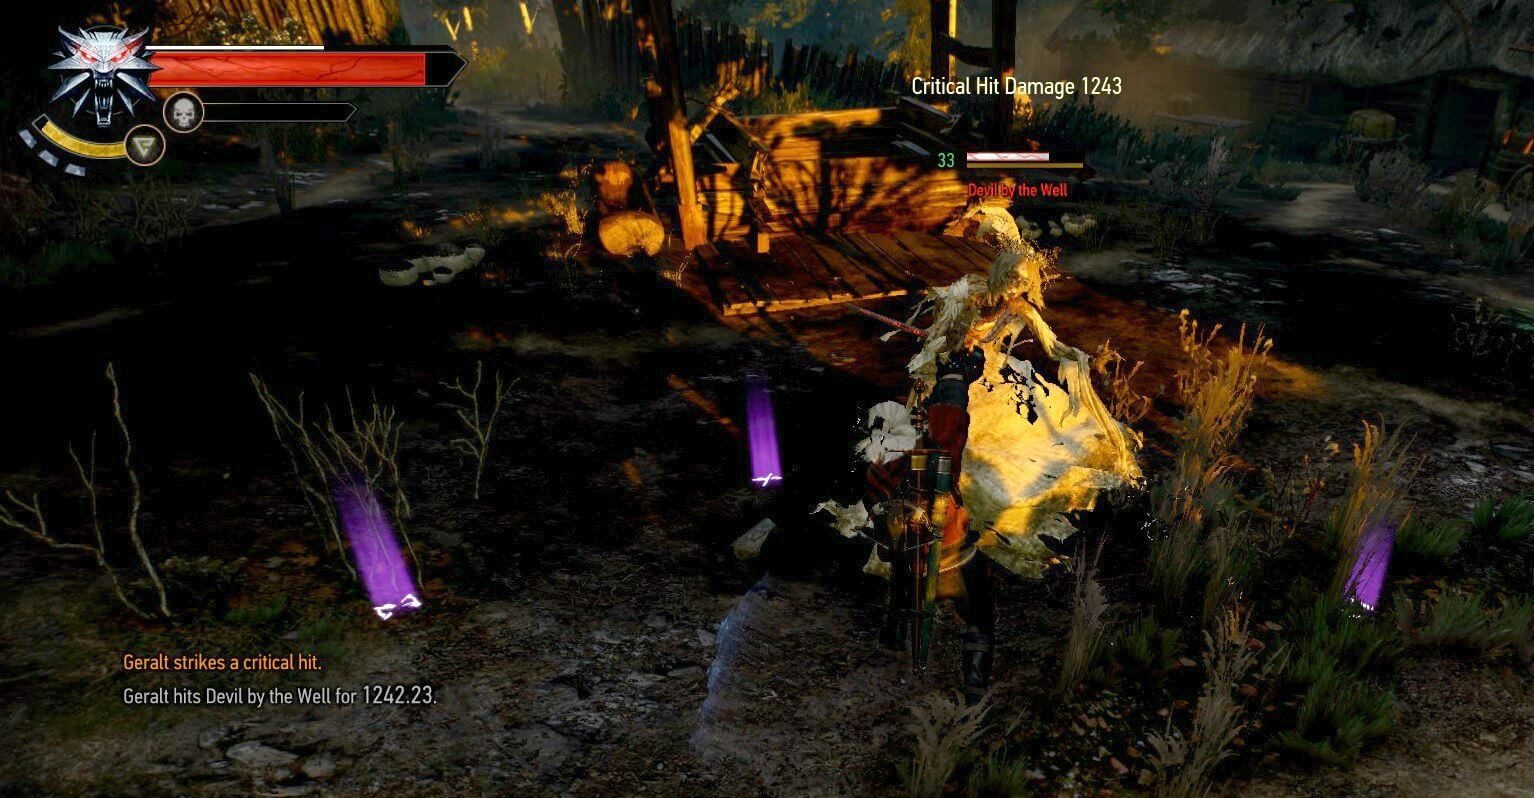
- Fast Attacks are usually better than Strong ones, but that depends on the specific monster and your build
- Parrying is very good against Humanoids, as they can sometimes block all your attacks – to parry, wait for the enemy to start its attack animation
Toad Prince (Hearts of Stone)
The Toad Prince is the first boss of the “Hearts of Stone” Witcher 3 expansion, and he has plenty of health and damage. The easiest way to kill this boss without resorting to spamming bombs and lots of potions is to use the alternate version of Igni – Firestream.
As long as you can channel Firestream for longer than 2 seconds, the boss will burn for heavy damage. Make sure to lock onto the boss (“Z” key on PC) so the firestream automatically follows him as he jumps.
This boss has several attacks to dodge/roll out of. For the poison attacks, simply dodge to the side. The most important skill to avoid is the long-range tongue attack, which deals heavy damage and can go through Quen.
You can usually tell when he is about to use this attack because it has a distinct animation, and the boss will stop moving for a second. Rolling to the side is the safest way to avoid this skill.
Outside of that, try to stay within Igni range of the boss, but not so close that his jump attack will be hitting you. As with all bosses, keeping Quen up throughout the fight will make sure you survive and allow for making mistakes.
Golem
The Golem you fight during the “Wandering in the Dark” quest is arguably the first significant challenge of the game. This fight is not overly difficult, but takes a long time due to the Golem’s high health and damage resistance.
Other types of golems can also be found later in the game, but the strategy remains the same. For this fight, there are several tips to keep in mind:
- Keep up your Quen shield to avoid damage, and have room for making mistakes
- Use only Strong Attacks, as fast attacks will do very little damage
- Try to attack the Golem from the back to get Critical damage bonus
- Rush in at the start of the fight to do some free damage
- Pay attention to the Golem’s animations, and use your dodge/roll to avoid the attacks
- Don’t attack when the Golem huddles down
Werewolf
There are two key werewolf fights, one for the “Ladies of the Wood” quest, and another for the “Nameless” quest, but they all work the same. The key to fighting werewolves is to rush them down quickly with fast attacks, to negate their healing ability.
Keep up your Quen sign shield, and alternate between hitting the werewolf about 3-4 times and dodging.
At about 50% or lower, the werewolf will run away to cast his heal, this is when you want to pop whatever offensive potion you have, sprint after him and burn him down quickly. Alternative Igni sign (the one that allows you to sustain a stream of fire) is also very useful here, as it will remove the healing while cast.
Noonwraith/Nightwraith
Noonwraiths and Nightwraiths take very little damage from your attacks, so you have to either: A) fight them inside a Yrden ring or B) use a Moon Dust Bomb. When affected by either of these, they will take increased damage.
Both Noon and Nightwraiths will also disappear roughly every 30% of their life and split into 3 copies. Each of these copies takes one hit to kill, and when they are all dead, the wraith will return. Outside of that, this is a typical attack a few times and then dodge type of deal.
Fiend
Fiends are some of the rarest monsters you’ll find in Wild Hunt, but they’re not particularly tough. Just keep dodging to avoid their charge, horn, and swipe attacks; it is usually safest to attack only once or twice after dodging to avoid taking damage.
Igni is also incredibly potent against fiends, causing them to panic and take heavy damage.
Fiends also have a special attack when their center eye glows red, which will darken your screen for a second and create a dark fog around you that lasts about 20 seconds. Whenever you see this being casted, use it as an opportunity to get free damage in.
Katakan
The Katakan is arguably the most dangerous Vampire-type monster in the game, as it deals high damage, and also regenerates health constantly. By far the easiest way to deal with it is to employ the Alternate version of Igni (a stream of fire), because it will stop the healing and also stop the Katakan from attacking.
Outside of that, this fight is a typical attack-a-few-times then dodge. In any case, you want to finish this fight very quickly so use fast attacks and only dodge/roll whenever necessary.
Imlerith
Imlerith is probably the most difficult boss in the game, which is great because killing him is one of the most satisfying moments in Witcher 3.
Having said that, his abilities are relatively simple. The fight has two phases. In phase one, Imerlith will use a shield along with his mace. During this phase, all you have to do is wait for him to attack, dodge, hit him twice, and repeat.
Ideally, you want to dodge in a way that gets you behind Imlerith so that you can do critical damage.
Then, at about 30%, Imlerith will drop his shield and start wielding his mace with two hands. In this phase, he will start to teleport behind you and attack quickly several times.
After about three teleports, he will tire out and stop attacking for a couple of seconds—this is your opportunity to do some damage before he rests and starts attacking again.
For this phase, rolling is usually safer than dodging because it is difficult to see the teleport attack coming. In any case, it’s all about avoiding the damage and then attacking when Imlerith is defenseless.
Caranthir
Caranthir is the second general of the Wild Hunt. As a mage, it’s not surprising that his fights involve dodging spell attacks and dealing with summoned minions.
The strategy for the fight is very simple: roll or dodge whenever you see Caranthir casting one of his frost missile attacks, run up to him, and hit him twice (he will always teleport away after two hits).
Don’t bother killing the frost elementals – they are too slow to catch up to you, and you can also make Caranthir damage them if you position yourself in a way where the elementals are between you and Caranthir.
Eredin
Despite being the big baddy of Witcher 3: Wild Hunt, Eredin is not particularly hard to defeat. Most of the fight is very similar to the Imerlith encounter, where you have to dodge attacks and then counter while the boss is still in his attack animation.
Similar to the Imerlith fight, Eredin has multiple phases. In all phases, Eredin casts a frost spell on himself, which grants him extra armor—you can dispel it by casting Igni.
In the first phase, which lasts for about 10% of his health, Eredin will simply attack you with his sword, combining both teleport attacks and normal attacks. All you have to do is dodge right when you see him attack and then proceed to hit him 2-3 times while he is still in his attack animation.
Once again, you ideally want to dodge in a way that puts you behind the boss so you deal critical damage.
Phase 2, on the other hand, mixes 2 new abilities along with his normal attacks. The first ability is a shockwave type of spell, which will slowly travel from Eredin’s location out on straight lines towards you – once again, all you have to do is dodge out of the way.
The second ability will cast small explosions at your location after a couple of seconds. To avoid this, sprint towards Eredin as soon as he starts casting and start attacking him. This phase is a long rinse-and-repeat, especially on Death March difficulty.
Phase 3 starts when Eredin reaches about 5% health. This phase is almost identical to the first one, except Eredin will be more aggressive and attack you more frequently.